Exploring Dashboards
In MapStore, a Dashboard is a space where the user can add many Widgets, such as charts, maps, tables, texts and counters, and can create connections between them in order to:
-
Provide an overview to better visualize a specific data context
-
Interact spatially and analytically with the data by creating connections between widgets
-
Perform analysis on involved data/layers
In order to create a new dashboard, the user can click on the Create Dashboard from the Add Resource*  button in Homepage. With a click on it, an empty dashboard workspace appears. This page is composed of:
-
a Side Toolbar
-
a View Toolbar
-
a Viewer
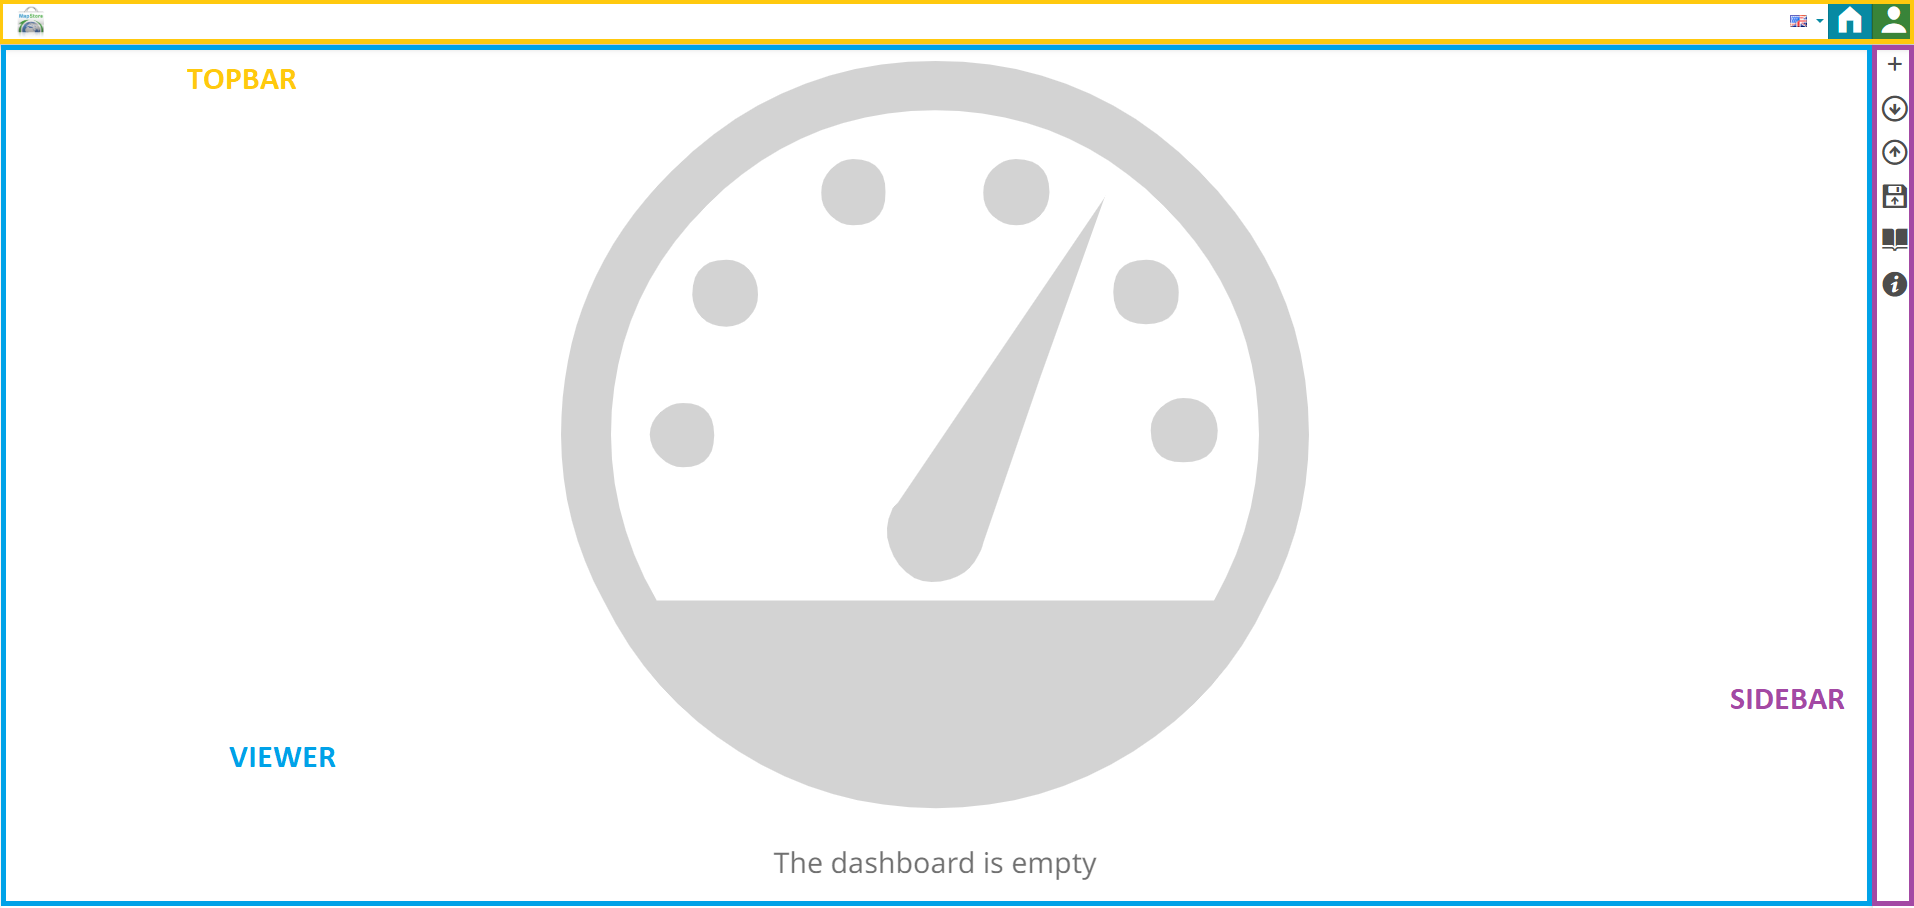
Side Toolbar
From the Side Toolbar the user can:

-
Add new widgets with the
 button
 -
See the connections between widgets with the
 button, available when connections are present (more information about this option are available in Connecting Widgets section)
 -
See the About this dashboard panel by clicking the
 button, when Details are present
 -
Export dashboard in
jsonformat by clicking the button
 -
Import
jsondashboard files from your computer by clicking the button (it will replace the current dashboard directly)
 -
Share the dashboard by clicking the
 button
 -
Start the Tutorial by clicking the
 button
View Toolbar
The View Toolbar is a tab-based system that allows users to display multiple dashboards within the same dashboard.
To add a new view, the editor can click the button. This action opens a panel where the user can:

-
Add a Title for the new view
-
Change the tab color using the Color Picker
-
Add an existing dashboard from MapStore by enabling the Link existing dashboard option and selecting the desired dashboard from the dropdown menu that appears in the panel
Once multiple views have been added to the dashboard, the user can manage each view through the  button available on each tab. The available actions are:
-
Delete the view using the
 button
 -
Configure the view using the
 button
 -
Move right the view within the toolbar using the
 button
 -
Move left the view within the toolbar using the
 button
Viewer
Once the widgets are added in the viewer it is possible to:
- Change widgets position by moving them with a simple Drag and Drop and resize them:
-
Access widgets menu
 from which the user can choose between several options (more information about this menu's options can be found in Map's Access Widget Menu section)
 -
Take a look at the widget Description (more information about widget Description can be found in Map's Access Widgets Info section)