Table of Contents
The Table of Contents, briefly TOC from now on, is a space where all the layers and the layers groups are listed. Through this panel it is also possible to carry out the following operations:
-
Add and remove layers and groups
-
Perform a search between layers
-
Change the position (and consequently the display order in map) of layers and groups
-
Set some display options directly from the panel
-
Manage layers and groups and query layers through the toolbar actions
TOC Settings and Toolbar
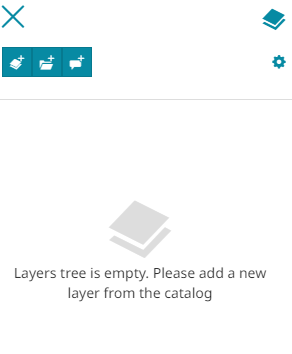
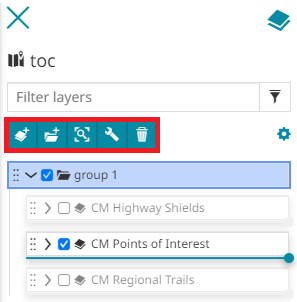
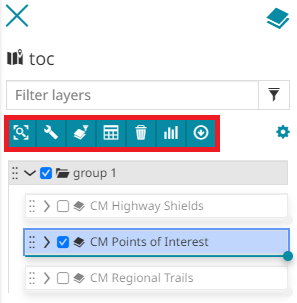
The user can access the TOC with the  button on the top-left corner of the map viewer. Once this is done, the following panel will appear:
With the TOC Toolbar the user can:
- Add new layer through the
 button: the Catalog panel opens and the user can choose the desired layer to add it to the map, through the
  button.
- Add new group, through the
 button: the following window opens where the user can enter the group title and add it to the TOC, through the
  button.
- Add new Annotations through the
 button as explained in the Annotations section.
MapStore allows the user to customize the display of groups and layers within the TOC by enabling/disabling some options, through the  button:
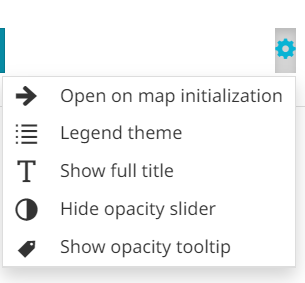
Here the user can:
-
Enable/disable the opening of the TOC on map initialization, through the
 button.
 -
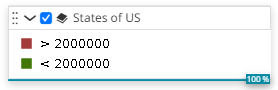
Change the TOC theme by choosing between Default Theme or Legend Theme, through the
 button. With the Legend Theme the user does not have the ability to drag and drop the position of groups/layers. This mode provides a simplified and lighter TOC when necessary.
 -
Enable/disable the possibility to display the entire title of groups/layers, through the
 button.
 -
Show/hide the opacity slider for layers, through the
 button.
 -
If the Opacity Slider is enabled, Show/hide the opacity tooltip for layers, through the
 button.
When right-clicking on the TOC body, in addition to the options available in the TOC Settings menu described above, the user can access some more settings such as:
-
Show all groups and layers present in the TOC by enabling the Show all child nodes through the
 button.
 -
Hide all groups and layers present in the TOC by enabling the Hide all child nodes through the
 button.
 -
Collapse all groups present in the TOC by enabling the Collapse all child nodes through the
 button.
 -
Expand all groups present in the TOC by enabling the Expand all child nodes through the
 button. Each layer legend is also expanded.
 -
Add a new group in TOC, through the
 button.
 -
Zoom the map to the extent covering all TOC layers, through the
 button.
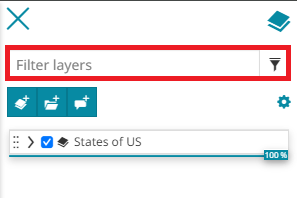
Search for layers
With the TOC it is also possible to perform a search between the added layers. This operation can be done simply by typing the name (o part of it) of the layer in the search bar:
Choose layers and groups position
The user can decide to change the position of a Layer within the TOC by clicking on the layer's drag and drop icon  .
.
It is possible to change the position of a layer within its group or move it into a different groups. Once this is done, also the order of the layer in the map changes accordingly.
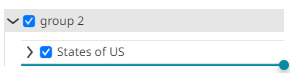
Below is an example of changing the layer position through the drag and drop function.
The same operation can also be done with any Group of layers.
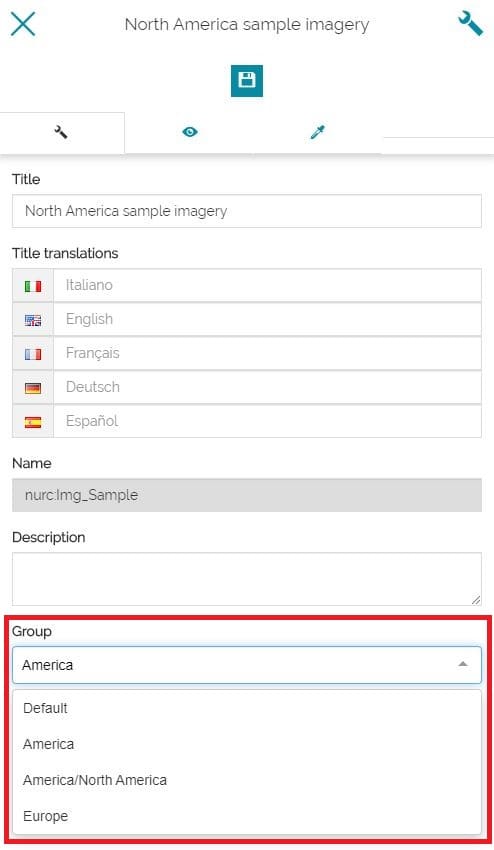
Layers position can also be changed by clicking on the Layer settings button  available in the toolbar. It appears once a layer is selected in TOC. This button opens a panel where the user can choose the destination group:
Display options in panel
Directly from the TOC UI, the user can access different kind of display options. In particular, for layers, it is possible to:
-
Enable/disable the layer visibility by using the check box to the left side of the layer leaf

-
Expand
or collapse the layer legend.
Note
The WMS layer legend can dynamically update based on the Filter applied to the layer and/or the current map viewport if the Dynamic legend option is enabled in the Layer Settings.
- Tune the layer transparency in map by scrolling the opacity slider.
For groups the user can instead:
-
Expand
or collapse layers or groups inside. -
Enable/disable the group visibility by using the check box to the left of the group leaf
Note
When the user turns off the visibility of a group, the visibility in map of all layers and groups inside it changes accordingly but their original visibility state in TOC remain untouched; simply all nested elements are grayed out to indicate they are not visible on map and other functions (e.g. via context menu) remain available.
Group Settings and Toolbar
Once a group is selected the following toolbar appears and the user can:
-
Add layer to selected group through the
button (it is possible to add one or more layers to the group) -
Add subgroup to the selected group through the
button (it is possible to add one or more subgroups to the selected group) -
Zoom to selected layers extent in order to zoom the map to the extent covering all layers belonging to the given group, through the
 button
 -
Open the Group settings through the
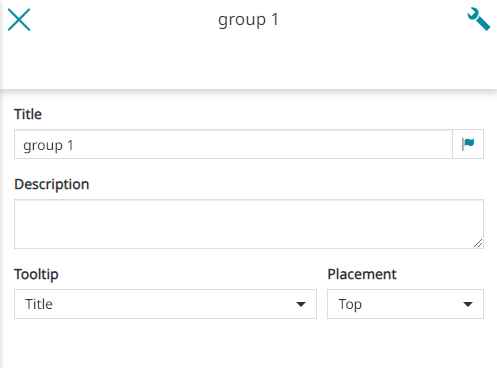
button: the Settings panel opens and the user can:
- Change the Title
- Set the translation of the group title by opening the Localize Text popup through the button. This way the language of the title changes according to the current MapStore language
- Edit the group's Description
- Configure the Tooltip that appears moving the cursor over the group's item in TOC. In this case the user can decide that the Title, the Description, both or nothing will be displayed. Moreover you can set the Placement of the tooltip, choosing between Top, Right or Bottom. In all circumstances the title is fully visible in TOC the tooltip doesn't appear.
- Remove selected group and its content through the
 button
By right clicking on a group, the user can change some properties of the group such as:
-
Show all groups and layers present in the selected group, enabling the Show all child nodes through the
button. -
Hide all groups and layers present in the selected group, enabling the Hide all child nodes through the
button. -
Activate a mutually exclusive visibility of groups and layers inside the selected group, enabling the Activate mutually exclusive visibility of child nodes through the
 button. In this way, only one layer or subgroup within it at a time can be visible on map.
 -
Collapse all groups present in the selected group, enabling the Collapse all child nodes through the
button. -
Expand all groups present in the selected group, enabling the Expand all child nodes through the
button. Each layer legend is also expanded. -
Add a subgroup under the selected group, through the
button. -
Zoom the map to the selected group layers extent, through the
button. -
Remove the selected group, through the
 button.
Layer Settings and Toolbar
Selecting a layer, the toolbar is the following one:
In this case the user is allowed to:
-
Zoom to selected layer extent
: in order to zoom the map to the layer's extent -
Access the selected Layer Settings
-
Set a Filter for that layer

-
Access the Attribute Table

-
Remove the selected layer
-
Create Widgets for the selected layer

-
Export the data of the selected layer

-
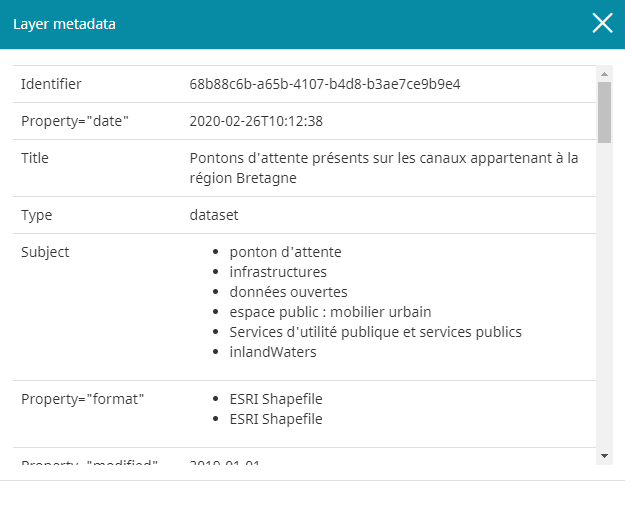
Open the Layer Metadata
 (if configured), to retrieve layer metadata from the remote catalog source.
Note
The Metadata Tool is not configured by default in MapStore. A complete documentation to configure it is available as part of the TOC Plugins documentation (see metadataOptions). Once the Metadata Tool has been configured, MapStore is able to load the layer metadata from the remote CSW service and parse it to be presented to the user according to the provided plugin configuration. This functionality automatically works in case of WMS layers coming from a CSW catalog source, while for layers coming directly from a WMS catalog source the Metadata Link must be present in the WMS Layer GetCapabilities.
By right clicking on a layer, the user can manage some layer properties such as:
-
Zoom the map to the selected layer extent, through the
button. -
Remove the selected layer, through the
button. -
Enable the Swipe tool on the map for the selected layer, through the
 button.
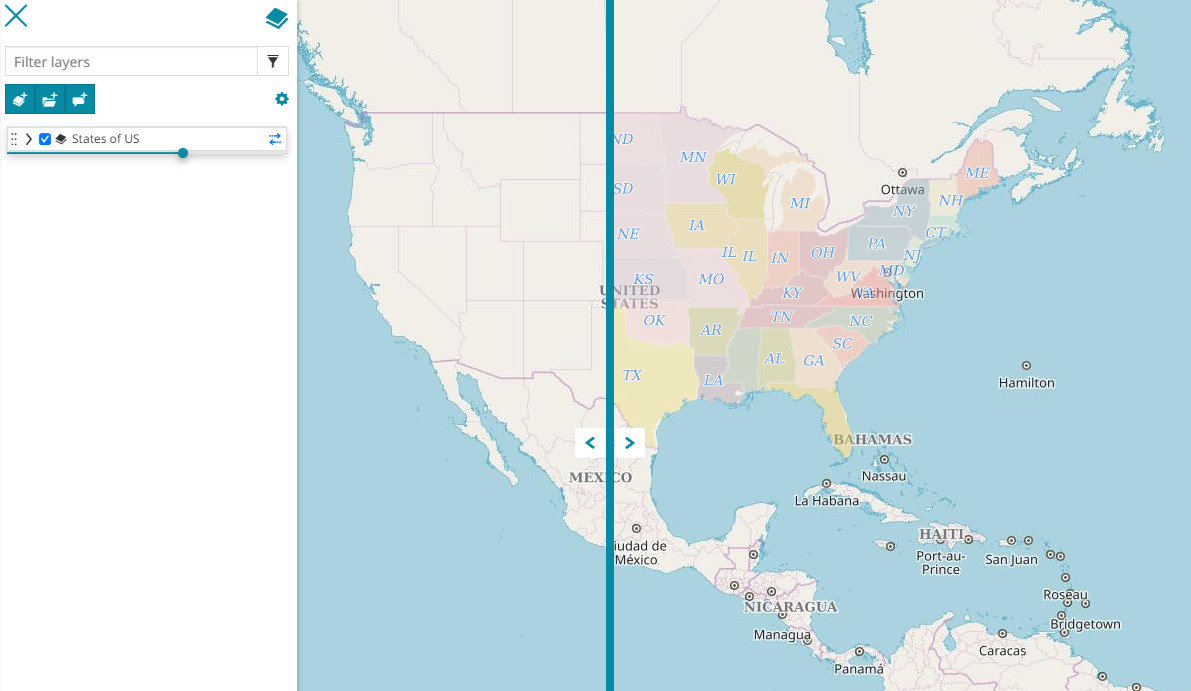
The user can change the orientation of the swipe from Vertical to Horizontal by clicking the ![]() button that appeared to the right of the layer title.
button that appeared to the right of the layer title.
- Enable the Spy glass tool on the map for the selected layer, through the
 button.
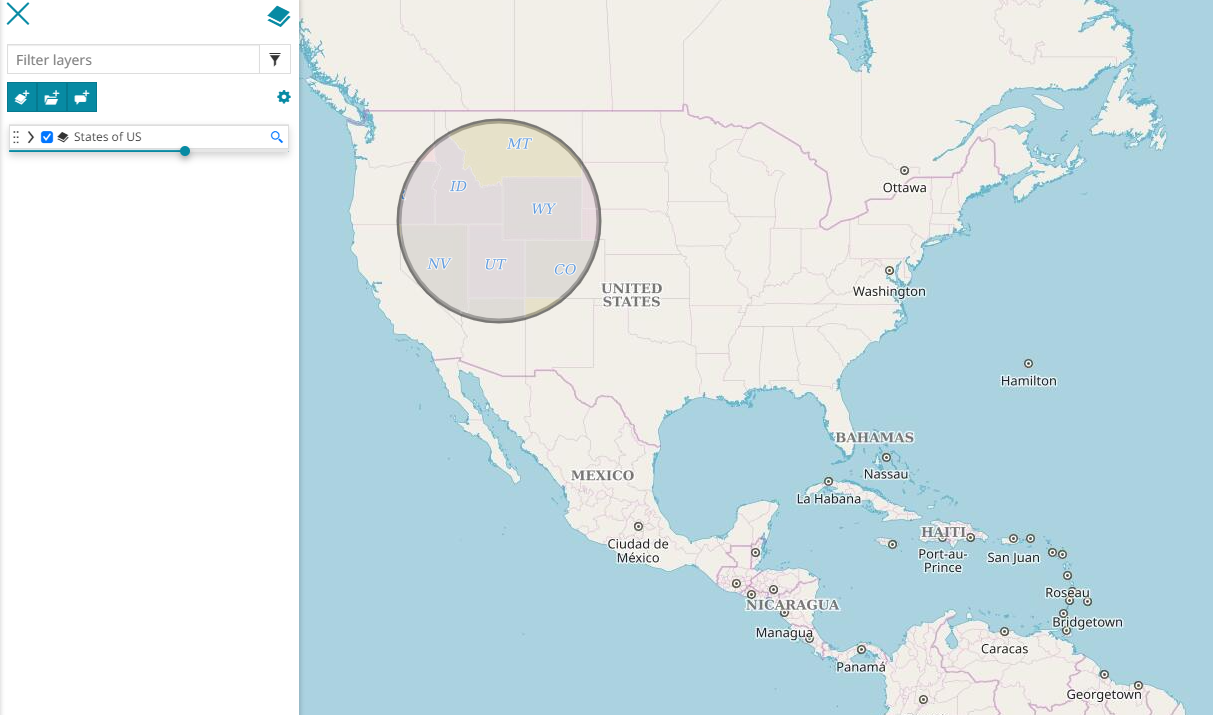
The user can change the size of the spy glass (the radius) by clicking the ![]() button that appeared to the right of the layer title.
button that appeared to the right of the layer title.