Street View
The Street View tool allows the user to browse 360 imagery in MapStore from different supported providers such as Google Street View or Cyclomedia Street Smart.
Note
The Street View plugin is not active by default in MapStore due to licensing reasons. It is anyway ready to be configured for application contexts using the desired provider.
Google Street View
Through the  button available in the Side Toolbar, the tool can be activated so that it is possible to navigate the map with Google Street View.
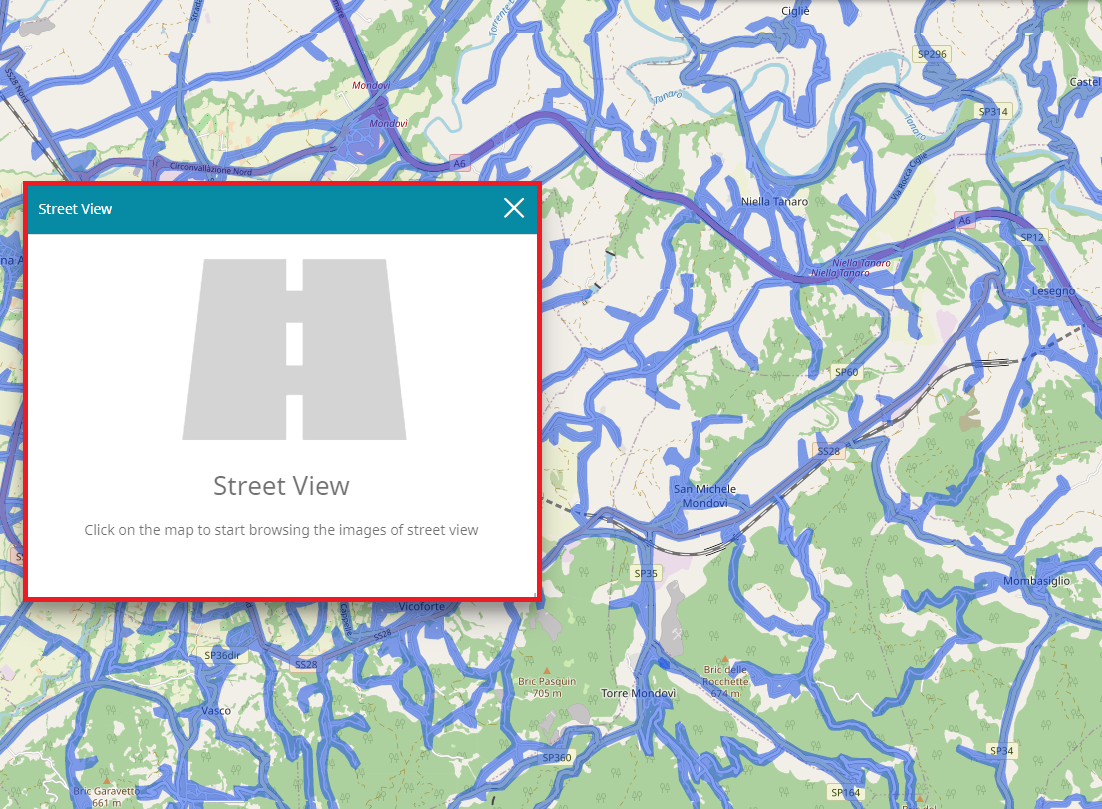
When the tool is activated, a window opens and the streets highlighted on the map so that the user can select one of them with a simple click of the mouse.
By clicking on a street in the map, the tool window displays the Street View and the user can navigate it.
- Zoom in/out on the street
- Use the Pan Interaction to navigate all-around the street
- Enable/disable the Full Screen

Cyclomedia Street Smart
If the Cyclomedia Street Smart has been configured as a provider for the MS Street View tool, the user experience is the same: the tool can be activated through the same button in Side Toolbar.
Note
The Cyclomedia Street Smart provider can be configured on the Street View plugin as documented here
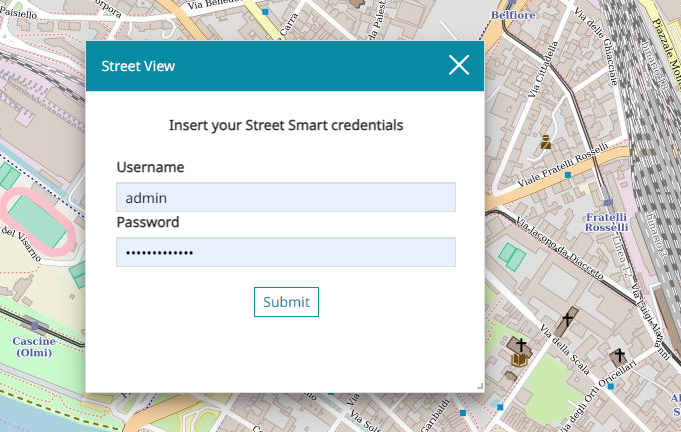
When the tool is activated, the user must enter Username and Password and click  .
.
Warning
The credentials are necessary to visualize the street layer while the usual authkey is needed in plugin config to interact with the street smart APIs (see plugin config page here)
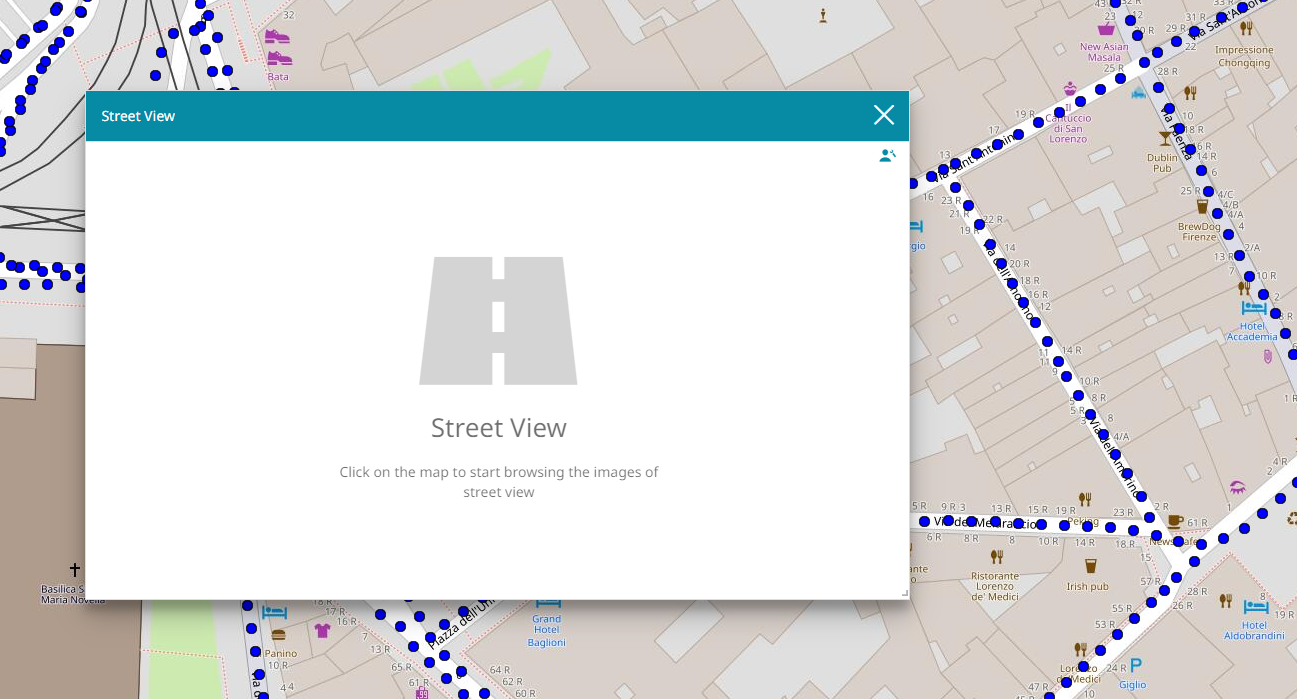
After that a window opens and the street layer is visualized in form of dots to highlight streets on the map so that the user can select one of them with a simple click of the mouse.
By clicking on a highlighted point on the map, the tool window displays the Street View and the user can navigate it as usual or interact with the Navigation Toolbar.

Through the navigation toolbar it is possible to:
-
Open the Overlays pop-up, through the
 button, to:
- View and enable/disable the layers present in the view from the Layers tab
- Enable/disable the Show Mouse position and the Show Compass from the Viewer tab -
Open the Display pop-up, through the
 button, to:
- Set the Brightness of the view
- Set the Contrast of the view -
See the Object Information through the
 button.
 -
Open the Cross Section pop-up, through the
 button.
 -
See the Elevation through the
 button.
 -
Open the Report issue pop-up, through the
 button.
 -
Open the Point Cloud pop-up, through the
 button.
 -
Open the Oblique viewer pop-up, through the
 button.
 -
Open the Measurements pop-up, through the
 button.
 -
Download the cyclorama image in
pngformat through the button.
 -
Open the Image Info pop-up, through the
 button to access image metadata such as: general image information as well as geospatial references of the image itself.